Web Project - Getting Started Guide

tl;dr: the complete example repo is here: robinandeer/web-project.
I dislike using templates when I start new projects. The boilerplate code makes it hard to understand how all the pieces fit together. Taking the time to integrate the different tools really feels worth it to me. That way, I'm also confident that I stay up-to-date with the latest good practices.
This post will be a no-nonsense step-by-step setup guide to start a new web project. I will integrate the tools I personally use to tackle various challenges.
Tech stack:
Let's get started!
Create a new project
Setup a basic JS project.
mkdir -p web-project
cd web-project

yarn init
> success Saved package.json
Now we can start installing dependencies.
Setup TypeScript
Install a local copy of TypeScript as a development dependency.
yarn add --dev typescriptConfigure TypeScript by adding a tsconfig.json file in the root of the project:
{
  "compilerOptions": {
    "target": "es5",
    "lib": ["dom", "dom.iterable", "esnext"],
    "allowJs": false,
    "skipLibCheck": true,
    "strict": true,
    "forceConsistentCasingInFileNames": true,
    "noEmit": true,
    "sourceMap": true,
    "esModuleInterop": true,
    "module": "esnext",
    "moduleResolution": "node",
    "resolveJsonModule": true,
    "isolatedModules": true,
    "jsx": "preserve"
  },
  "include": ["next-env.d.ts", "**/*.ts", "**/*.tsx"],
  "exclude": ["node_modules"]
}
Setup Next.js
Install Next.js along with some additional TypeScript type definitions:
yarn add next react react-dom

yarn add --dev @types/node @types/react
In package.json, add the following NPM scripts:
// package.json

{
  "scripts": {
    "dev": "next dev",
    "build": "next build",
    "start": "next start"
  }
}
Create a next-env.d.ts file to add type definitions for Next.js:
/// <reference types="next" />
/// <reference types="next/types/global" />
Add an initial Next.js page:
// src/pages/index.tsx

const IndexPage: React.FC = () => {
  return <h1>Hello, Next!</h1>
}

export default IndexPage
I like to collect all the source files under a src directory but you do as you wish.
Enable absolute imports to make it easier to import components/modules by updating tsconfig.json:
// tsconfig.json

{
  "compilerOptions": {
    "baseUrl": "./src"
  }
}
You should now be able to start the development server and go to http://localhost:3000/:
yarn dev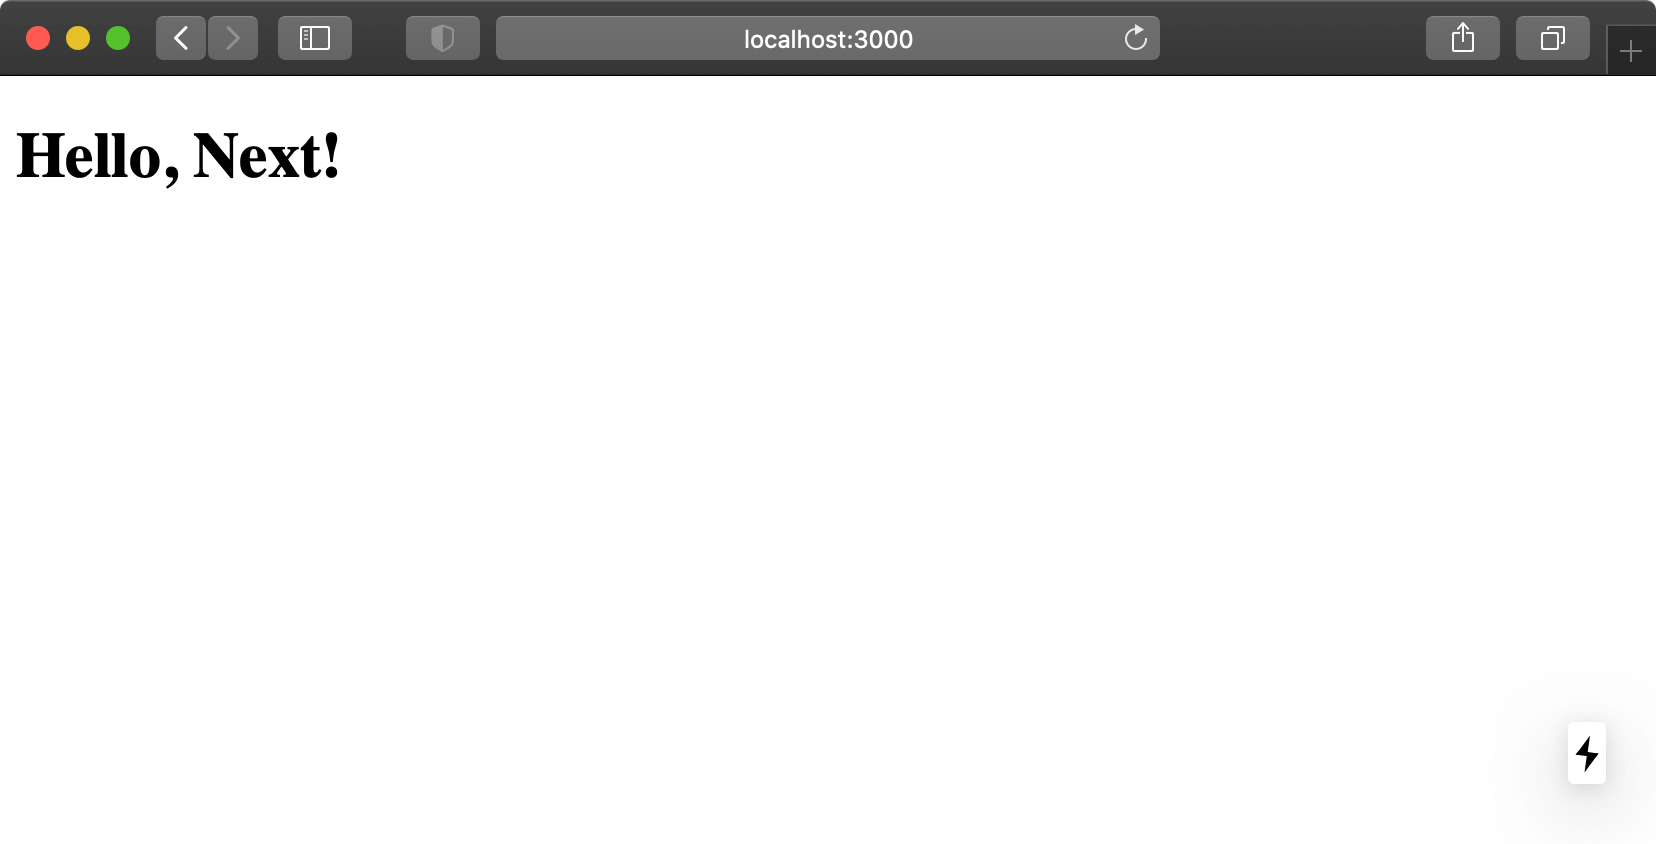
Setup Tailwind CSS
Let's move on to the CSS setup. First, install Tailwind:
yarn add --dev tailwindcssCreate a basic tailwind.config.js file in the root directory:
// tailwind.config.js

module.exports = {
  future: {
    removeDeprecatedGapUtilities: true,
    purgeLayersByDefault: true,
  },
  important: true,
  purge: ['./src/pages/**/*.tsx', './src/components/**/*.tsx'],
  theme: {},
  variants: {},
  plugins: [],
}
The "future" section enables upcoming Tailwind features that will make future migrations easier.
Remember to update the "purge" glob-list to include all your React components!
Since Tailwind is a PostCSS plugin, add a postcss.config.js file to configure PostCSS:
// postcss.config.js

module.exports = {
  plugins: ['tailwindcss'],
}
Also install the postcss-preset-env module which transforms modern CSS into something most browsers understand.
yarn add --dev postcss-preset-envUpdate the PostCSS config and enable stage 3 features:
// postcss.config.js

module.exports = {
  plugins: [
    'tailwindcss',
    [
      'postcss-preset-env',
      {
        stage: 3,
      },
    ],
  ],
}
Finally, add a global CSS file:
/* src/styles/global.css */

@tailwind base;

/* Write your own custom base styles here */

/* Start purging... */
@tailwind components;
/* Stop purging. */

/* Write your own custom component styles here */

/* Start purging... */
@tailwind utilities;
/* Stop purging. */

/* Your own custom utilities */
Override the root Next.js App component and import the global CSS file in src/pages/_app.tsx.
// src/pages/_app.tsx
import '../styles/global.css'
import { AppProps } from 'next/app'
const App: React.FC<AppProps> = ({ Component, pageProps }: AppProps) => <Component {...pageProps} />
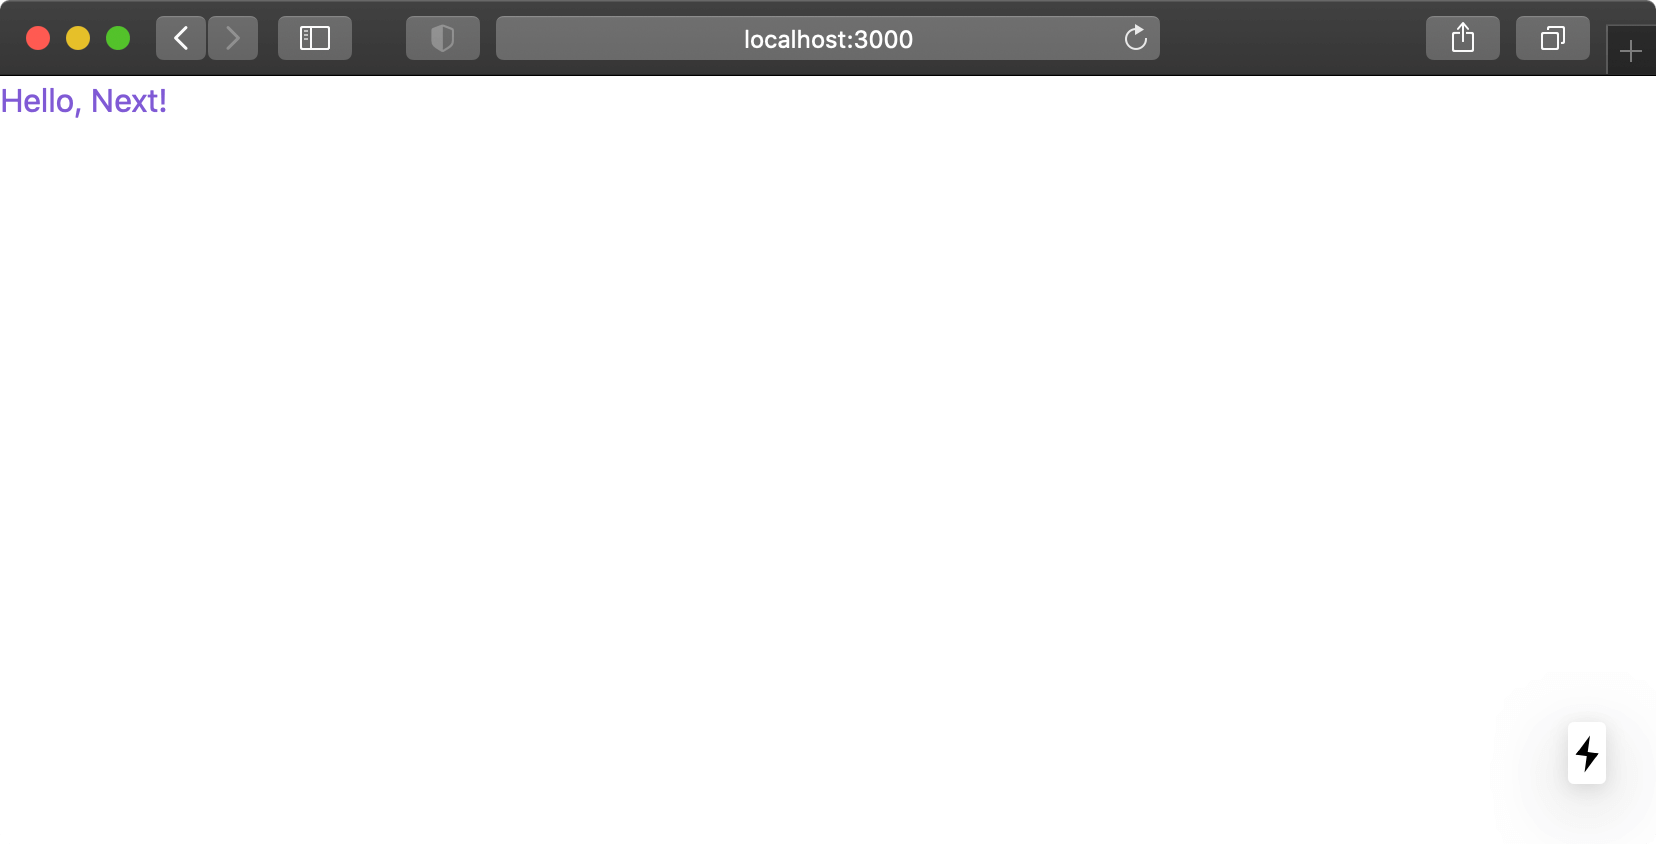
export default AppFinally, update the index page to include a Tailwind CSS utility class:
<!-- src/pages/index.tsx -->

<h1 className="text-purple-600">Hello, Next!</h1>
Run yarn dev and go to http://localhost:3000/. You should see a small, purple text appear on the page.
Setup Eslint
ESLint can help us out identify mistakes early. However, the setup does get slightly complicated when you want to integrate it with TypeScript. The first step is to install the ESLint dependencies:
yarn add --dev eslint eslint-plugin-react eslint-plugin-react-hooksAlso install the libraries required to integrate with TypeScript:
yarn add --dev @typescript-eslint/eslint-plugin @typescript-eslint/parserCreate an ESLint config file .eslintrc.js:
// .eslintrc.js

module.exports = {
  parser: '@typescript-eslint/parser',
  extends: ['plugin:react/recommended', 'plugin:@typescript-eslint/recommended', 'plugin:react-hooks/recommended'],
  parserOptions: {
    ecmaVersion: 2020,
    sourceType: 'module',
    ecmaFeatures: {
      jsx: true,
    },
  },
  settings: {
    react: {
      version: 'detect',
    },
  },
}
As of React 17 we no longer need to import React in .tsx files so we can tell ESLint to not complain about that:
// .eslintrc.js

module.exports = {
  rules: {
    'react/react-in-jsx-scope': 'off',
  },
}
Setup Prettier
Prettier let's us take advantage of automated code formatting. It needs to be properly integrated with ESLint to work as expected. Two helper libraries take care of the integration. eslint-plugin-prettier runs Prettier as an ESLint rule while eslint-config-prettier turns off ESLint rules that might conflict with Prettier.
Install the required dependencies:
yarn add --dev prettier eslint-config-prettier eslint-plugin-prettierCreate a new .prettierrc.js file in the root directory:
// .prettierrc.js

module.exports = {
  semi: true,
  trailingComma: 'all',
  singleQuote: true,
  printWidth: 120,
  tabWidth: 2,
  quoteProps: 'preserve',
}
Edit .eslintrc.js to complete the ESLint + Prettier integration:
// .eslintrc.js

module.exports = {
  extends: [
    // at the bottom of the extends array
    'prettier/@typescript-eslint',
    'plugin:prettier/recommended',
  ],
}
Setup Jest and Testing Library
Install the recommended libraries:
yarn add --dev jest babel-jest @testing-library/jest-dom @testing-library/react @types/jestSetup Babel by telling it explicitly to use the Next.js Babel preset. Create a .babelrc file in the root directory:
// .babelrc

{
  "presets": ["next/babel"]
}
Add a few new NPM scripts to the package.json file.
// package.json

{
  "scripts": {
    "type-check": "tsc --pretty --noEmit",
    "lint": "eslint ./src --ext ts --ext tsx",
    "test": "jest",
    "test-all": "yarn lint && yarn type-check && yarn test"
  }
}
Next, create a new file test/testUtils.ts:
// test/testUtils.ts

import { RenderOptions, RenderResult, render } from '@testing-library/react'

const customRender = (ui: React.ReactElement, options: RenderOptions = {}): RenderResult => render(ui, { ...options })

// re-export everything
export * from '@testing-library/react'

// override render method
export { customRender as render }
Add the first basic test by creating another file test/pages/index.test.tsx:
// test/pages/index.test.tsx

import IndexPage from 'pages/index'
import { render } from '../testUtils'

describe('Index page', () => {
  it('matches snapshot', () => {
    const { asFragment } = render(<IndexPage />, {})
    expect(asFragment()).toMatchSnapshot()
  })
})
Add a file jest.config.js to complete the Jest setup:
// jest.config.js

module.exports = {
  roots: ['<rootDir>'],
  moduleFileExtensions: ['ts', 'tsx', 'js', 'json', 'jsx'],
  testPathIgnorePatterns: ['<rootDir>[/\\\\](node_modules|.next)[/\\\\]'],
  transformIgnorePatterns: ['[/\\\\]node_modules[/\\\\].+\\.(ts|tsx)$'],
  transform: {
    '^.+\\.(ts|tsx)$': 'babel-jest',
  },
  moduleNameMapper: {
    '\\.(css|less|sass|scss)$': 'identity-obj-proxy',
  },
}
To support absolute imports, add the following to the Jest config:
// jest.config.js

module.exports = {
  moduleDirectories: ['node_modules', 'src'],
}
Make sure that everything works by running:
yarn test-allThat's it! Hopefully I managed to demystify how to setup a new web project just a little bit. Your preferred setup might differ slightly but you should still be able to jump into the section that interests you. If you do get stuck, I recommend you turn to the official Next.js examples.
The complete example repo can be found here: robinandeer/web-project.
Big thanks to the following resources that helped me out a lot: